
The Magic of Natural Light: How to Use It for Stunning Food Photos
There’s something undeniably beautiful about food photographed in natural light. It feels honest. Fresh. Craveable. Like you could reach out and take a bite.
But working with natural light isn’t about luck. It’s a craft — and once you learn how to control it, your food photos can come to life in ways artificial light just can’t replicate.
Let’s explore how to use what the sun gives you — from morning softness to golden hour glow — and build a foundation that works anywhere in the world.
1. Understand the Direction of Light
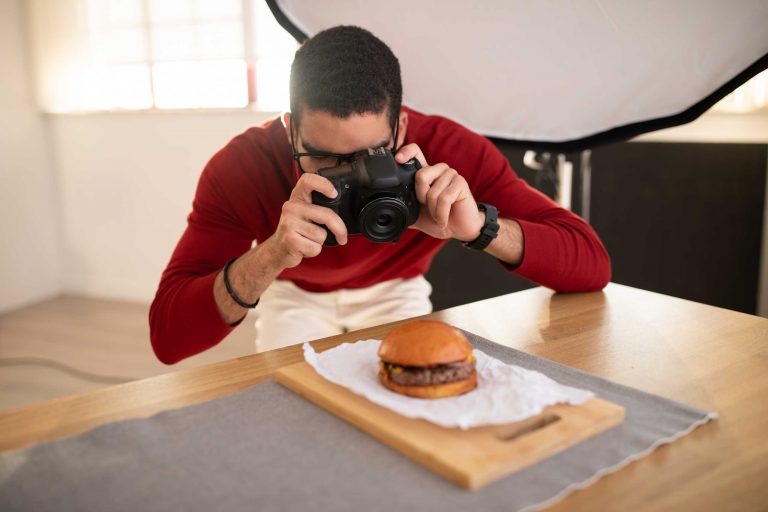
Before you press the shutter, take a moment to look at your setup. Where is the light coming from? That single decision can shape everything in your image.
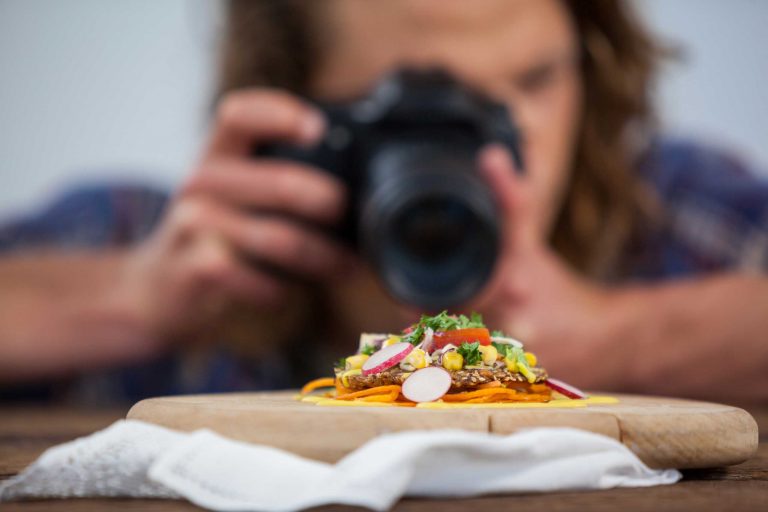
- Side light (light coming from the left or right) brings out texture — great for crusty bread, leafy greens, or anything layered.
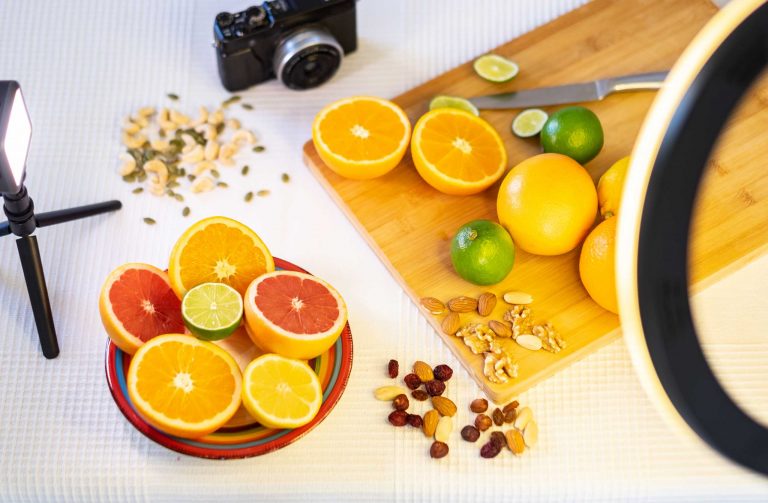
- Backlight (light coming from behind the subject) adds glow and depth — especially perfect for translucent ingredients like citrus, drinks, or sauces.
- Front light (from behind the camera) can flatten your image. It’s useful for clean shots, but use sparingly if you want drama.
👉 Try rotating your dish near a window and observe how the shadows shift. That small change can elevate the entire frame.
2. Diffuse for Softness
Bright midday sun can be harsh. Shadows become sharp, highlights blow out, and food may look more dramatic than delicious. But don’t avoid it — tame it.
Use a white curtain, sheer cloth, or baking parchment over the window. That instantly transforms harsh light into a soft, creamy glow.
If you’re shooting outdoors? Look for open shade — next to a wall or under a canopy. It’s your natural softbox.
3. Use Reflectors and Blockers
Lighting is not just what you let in — it’s also what you block and bounce.
- Use a white foam board or even a piece of paper to bounce light back onto the shadow side of your dish.
- A black card or book can deepen shadows, creating contrast and mood.
These simple tools help you sculpt light like a painter adds highlights and shadows to a canvas.
4. Embrace Imperfection
Natural light changes. A cloud moves. The sun shifts. Embrace it.
Sometimes, that fleeting sliver of light across a slice of cake is exactly what your photo needs. Don’t wait for perfect conditions. Work with what you have — and let the unpredictability create magic.
5. Test at Different Times of Day
Morning light is cool and quiet. Afternoon is warm and bold. Each time of day tells a different story — and your subject may look completely different in each.
Try photographing the same dish in different lighting windows. The results will surprise you — and teach you more than any rulebook ever could.
In Closing
Natural light is one of the most accessible, beautiful tools in your food photography toolkit. It’s free, it’s dynamic, and with practice, it’s entirely yours to shape.
Start observing the light around you — in your kitchen, at a café, on your plate before dinner. The more you look, the more you’ll learn to shoot not just what’s in front of you, but what you feel when you see it.